Synology NAS as Eye-Fi server

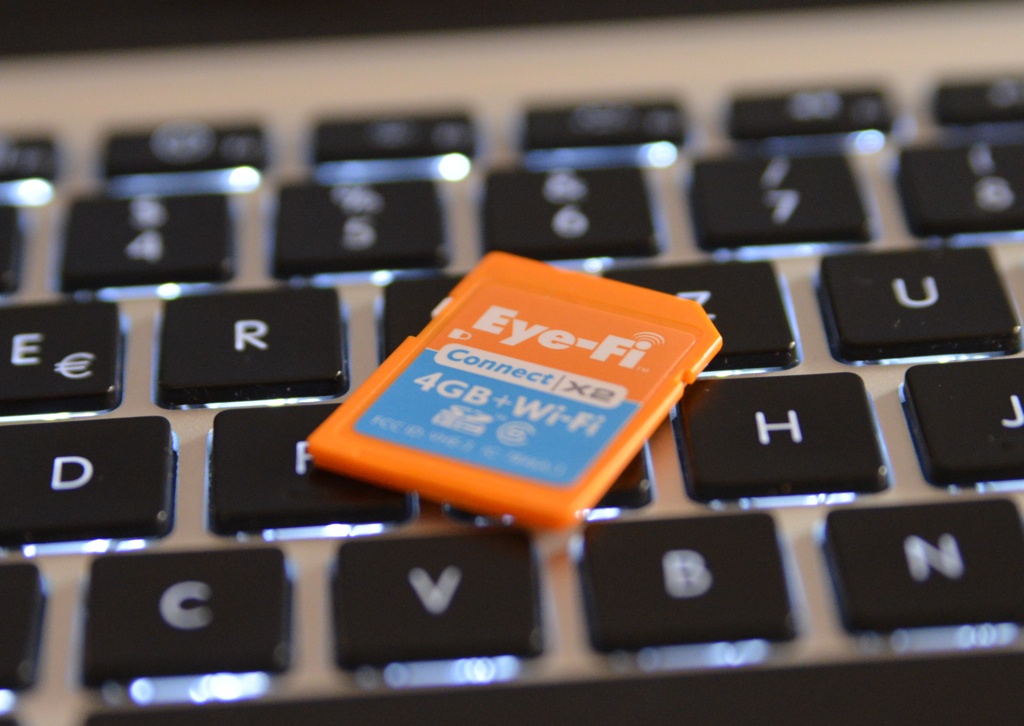
In theory, the a digital camera, an Eye-Fi wireless SD card, and a Synology NAS running Photo Station, should be a terrific combination for quickly putting snapshots online without giving up control over the image files (like you would with flickr, 500px, and friends). One would only need to put together some kind of server software on the NAS that accepts new images taken with the Eye-Fi card and puts them right into Photo Station.
Seriously, how hard can it be?
DISCLAIMER: As always, I take no responsibility for anything that happens because you follow these instructions – but you probably knew that. This is by no means a secure, production-level setup, but just me playing with stuff. Messing with your NAS’s root filesystem, as described below, is always done at your own risk, and the eyefiserver2 python script is not guaranteed to be secured against attacks, either. Don’t blame me. For anything. Ever.
The idea of hosting your own Eye-Fi server without having your pictures transferred all over the internet is not new – and thanks to the work of Jeff Tchang, David Grant, and others, there’s a Python-based piece of Ey-Fi server software that is able to link with an Eye-Fi card and download JPGs straight from the camera to a directory of your choosing. Detailed information about eyeserver2 can be found at http://code.google.com/p/eyefiserver2/.
Installing eyefiserver2
To set up eyesfierver2 on you Synology NAS, you need to
- Install the Python 2.7 package via the Package Center
- Enable SSH access and login as ‘root’ (same password as ‘admin’)
- Download eyefiserver2-DEV.tar, untar it, and copy the files to their locations in the Synology’s file system; or simply
cd / && curl https://upods.net/wp-content/uploads/2020/07/eyefiserver2-DEV.tar.gz | tar xvz
which does the same thing.
- Install the official Eye-Fi server software on your Windows PC or Mac, and set it up to transfer files to your computer
- Jot down your Eye-Fi card’s MAC address and upload key, which can be found in
- C:UserskevinAppDataRoamingEye-FiSettings.xml (on Windows 7, an possibly 8)
- ~/Library/Eye-Fi/Settings.xml (on Mac OS X)
- C:Documents and SettingsLocal SettingsApplication DataRoamingEye-FiSettings.xml (on Windows XP)
You’re looking for a 12-digit hexadecimal number (the MAC address) and a 32-digit hexadecimal number (the upload key).
- Edit /etc/eyefiserver.conf on the NAS to reflect the MAC address and upload key you just found out (mac_0 and upload_key_0, respectively). Don’t put any separators between the bytes of the MAC address, just 00deadbeef00 to represent 00:DE:AD:BE:EF:00 is fine. Also, change the dir, uid, gid, file mode, and dir mode as follows:
upload_dir:/volume1/Pictures/eye-fi/%%Y-%%m-%%d
upload_uid:1026
upload_gid:100
upload_file_mode:420
upload_dir_mode:509This will make sure that any JPG transferred from your Eye-Fi card is placed in the ‘eye-fi’ album on your Synology.
- Put eyefiserver into your DiskStation’s startup sequence by issuing the following command (check /etc/rc.local to make sure this line doesn’t come after ‘exit 0’):
echo -e “#!/bin/sh /usr/local/bin/eyefiserver.py start /etc/eyefiserver.conf /var/log/eyefiserver.log” >> /etc/rc.local
- Reboot your NAS, and you should be set. When taking a new picture, you should see appropriate activity in /var/log/eyefiserver.log.
Reference: http://ennonymous.de/2013/08/30/from-eye-fi-straight-to-synology-nas
